So, you are looking to set up your Netgear WiFi range extender, right? That means you have bought it! Fab! It is one of the most excellent choices made by you. If you can’t set up your Netgear extender, then don’t regret. We are here to help. In this article, we will provide you each and every step that is required for Netgear extender setup process. Let’s start!
Steps to Set Up Netgear Extender
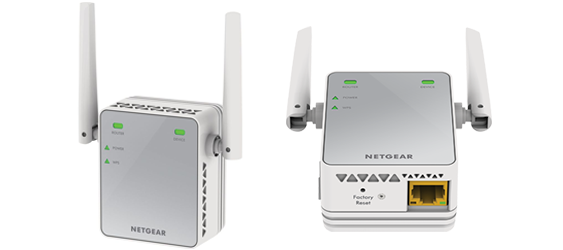
Step 1: The first step that you have to take in order to set up your Netgear WiFi range extender is to unbox it carefully and keep it aside.
Step 2: Then, you have to choose a working wall socket for your Netgear extender that must be in reach of your existing router. Just in case, you don’t have a plug closer to your router, then it is better to use the extension. Don’t worry! Connecting the Netgear extender and router using an Ethernet source is just a temporary process. As soon as you are done with new extender setup process, you can place the devices at a distance and connect them wirelessly.
Step 3: Once you are done with the process of connecting your devices using an Ethernet source, turn on a laptop, desktop or wireless computer. Before proceeding further, check if there is any software updates available. If yes, then update the software of your device and then apply the step 4.
Step 4: As soon as you are done with step 3, open a web browser of your choice. Bear in this that the web browser you are about to use must not be outdated. Why? Because you are about to use 192.168.1.250 IP (in case the web address, mywifiext.net do not work for you). And, the extender’s default IP or the web address do not work on an outdated web browser. So, to prevent such kind of annoying issues, it better to use an updated version of the internet browser.
Apart from this, to make 192.168.1.250 IP or the extender’s default web address working for you, ensure that the browsing history is cleared from the internet browser and all the unwanted opened tabs are closed.
Note: Unpinned all the pinned tabs as well.
Step 5: Now, head towards the URL bar of the internet browser. Carefully enter the 192.168.1.250 IP in the address bar. Note it down that the extender’s default IP will not work if you are using the search bar for entering it. Also, we suggest (to prevent typos), better to copy 192.168.1.250 IP from here only.
Step 6: After entering the IP address carefully in the browser’s URL bar, you have to hit the Enter key. Upon hitting the enter key, you can see that new extender setup page has been displayed on the home screen of your device, right? No? Oh! Why worry! Simply ensure that you are not using the mobile hotspot or neighboring WiFi for the same.
Here’s to hope that Netgear new extender setup page is working now, isn’t?
Step 7: Enter the default login credentials of your Netgear WiFi range extender into the fields provided. Once you are done, click Log In.
Note: Options may vary upon the device you are using.
To avoid any inconvenience, refer to the Netgear extender manual for default login details.
Step 8: Follow the on-screen instructions. The reason being, we don’t want our users to mess up with the new extender setup process and that is why we suggest them to go with the on-screen instructions. Why? Because the setup instructions depend upon the extender model you have. For instance, if you have
AC1200 WiFi Range Extender (EX6120) and we are providing you instructions to set up AC1200 WiFi Mesh Extender (EX6110) and so on, then you may get confused.
The only thing that you have to take care of is the web address. 192.168.1.250 IP or the extender’s default web address, mywifiext.net is not meant to be used on Apple devices and MacBook. Then which web address to be used on Apple devices? Mywifiext.local!
Do share if you are able to set up your Netgear extender following the on-screen instructions.